
Take a Screenshot
A picture really is worth a lot! How many times have you thought how much easier it would be to explain a problem or issue, or even something funny on your Mac and you would love to just get a quick shot of it so you could share it with someone.
Now a Windows machine has a nifty little screenprint key on the keyboard... not much more information than that. With a Mac though, you have a few nifty little keyboard commands that will take your shot however you want, and leave a nice little .png image file on your desktop. You won't have to guess where it is or go scrounging around your computer for it. And since you will be able to find it easily, it will be right in front of you on your main screen, after all, all you will have to do is decide what you want to do with it.
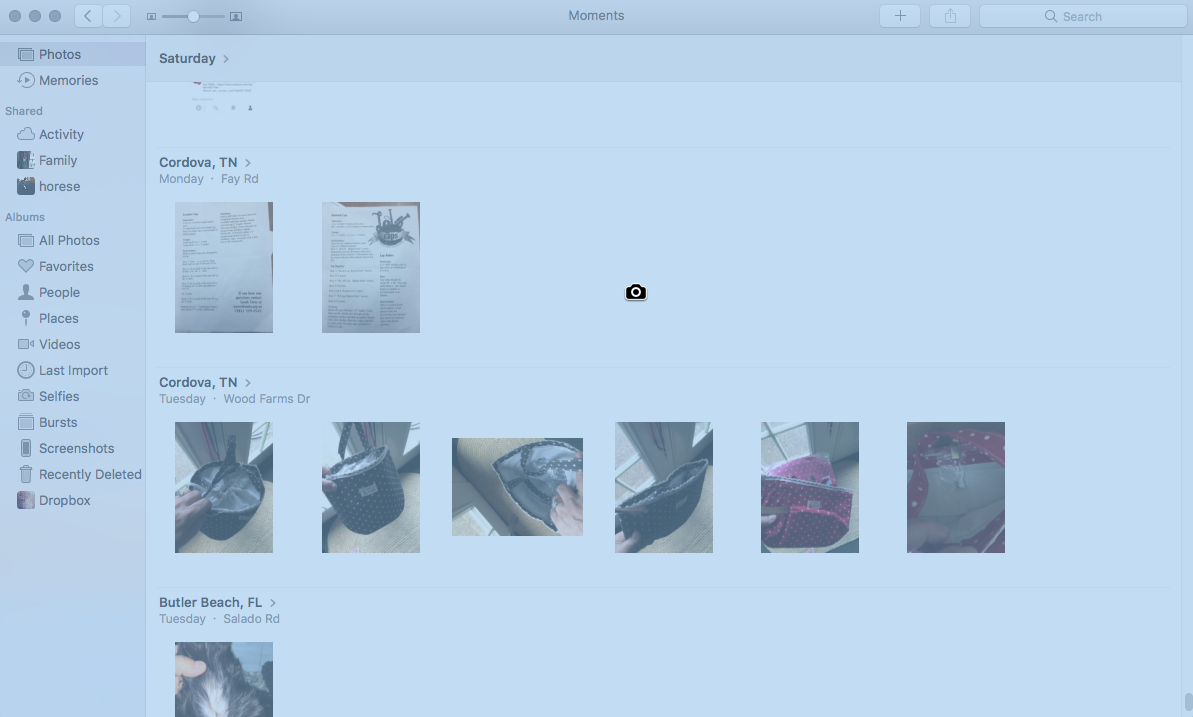
To Snap an Entire Window
- Press Command-Shift-4. The pointer will change to a crosshair pointer.
- Press the Space bar. The pointer will change to a camera pointer.
- Move the camera pointer over a window to highlight it.
- Click your mouse or trackpad to take the snap.
- Press the Escape (esc) key before you click if you want to cancel.
To Snap a Part of Your Screen
- Press Command-Shift-4. The pointer will change to a crosshair pointer.
- Move the crosshair pointer to where you want to start the screenshot.
 Drag to select an area. While dragging, you can hold the Shift key, Option key, or Space bar to change the way the selection moves.
- When you have the area you want selected, release your mouse or trackpad button.
- To cancel, press the Escape (esc) key before you realease the button.
- This includes menus and parts of windows. If you can see it on your screen, you can capture a snapshot of it.
Remember: Once your capture is completed (you will hear the camera sound), a .png image file will appear on your desktop (main screen). Double click this .png file and your image preview app will open so you can take a look at it and decide what you want to do with it.
